Schedules
Schedules is the category where all the scheduled catalogs are listed, with information like the catalog name, last run, next scheduled run, and options to activate or deactivate a schedule, and the option to delete it.
Example
Create a schedule
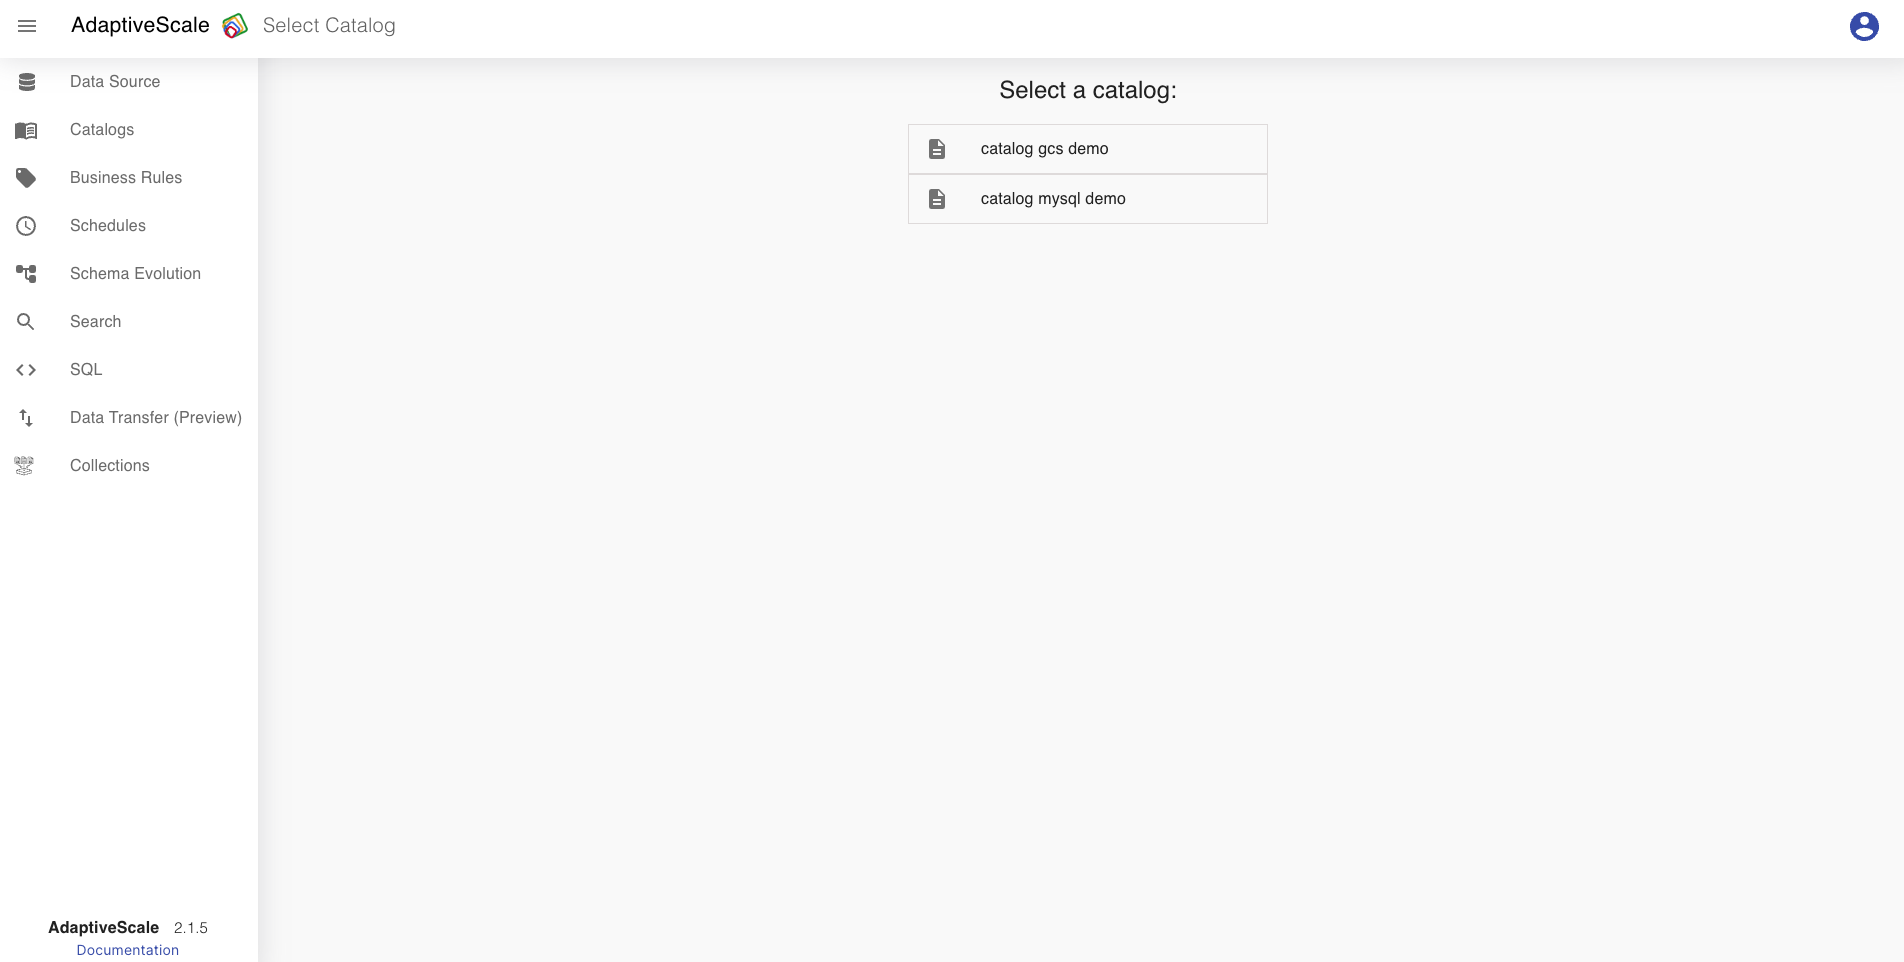
To create a schedule, the user must click on Schedules tab from the menu on the left or whenever the user creates a Catalog.
If there are no schedules created, the user clicks on Add Schedule button to add a new schedule, and select a catalog from the list which redirects the user to the Schedule tab of the chosen catalog to set a schedule.

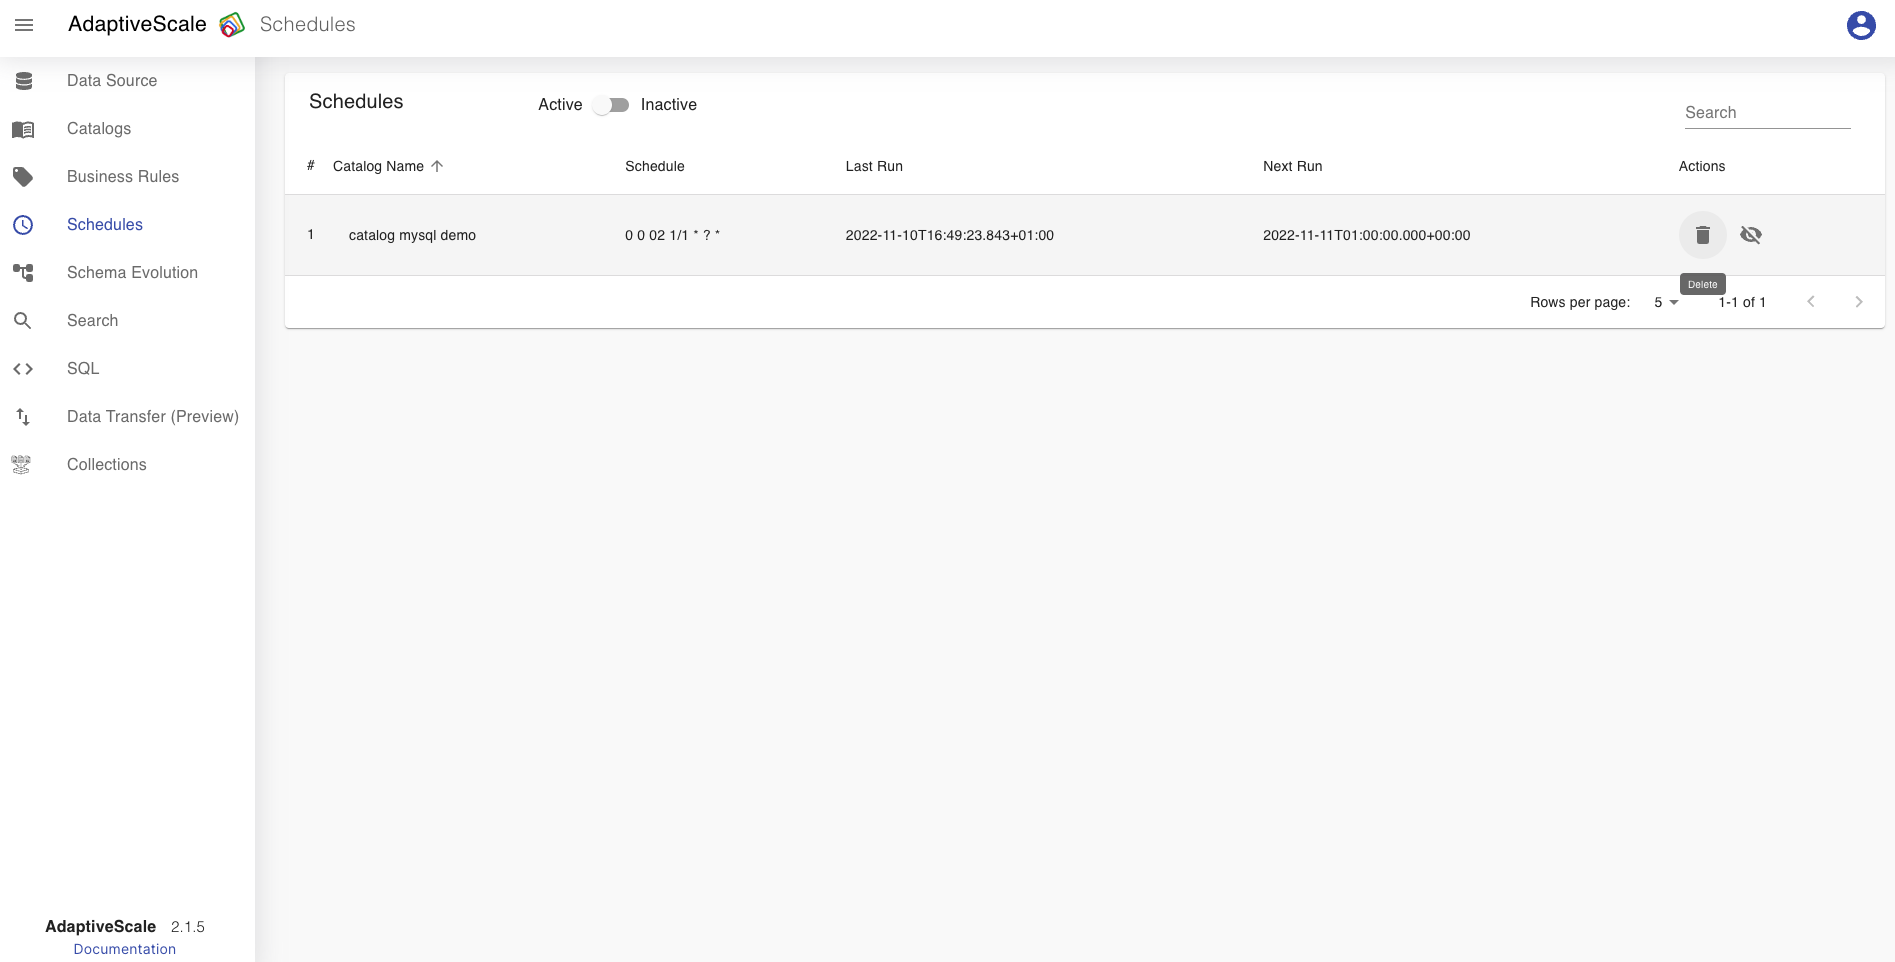
Once the user schedules a run for a catalog, in the Catalogs tab, it is listed in the Schedules category. The list of schedules has information like the catalog name, schedule, last run and next run. It also has the possibility to delete and activate or deactivate a schedule.
Activate schedule
When the user schedules a catalog, by default it is listed in Active scheduled list. This means that the next run of the catalog will happen on the date schduled in the list.
If the user wants to stop the next run, it can deactivate the catalog run by clicking on the eye icon.
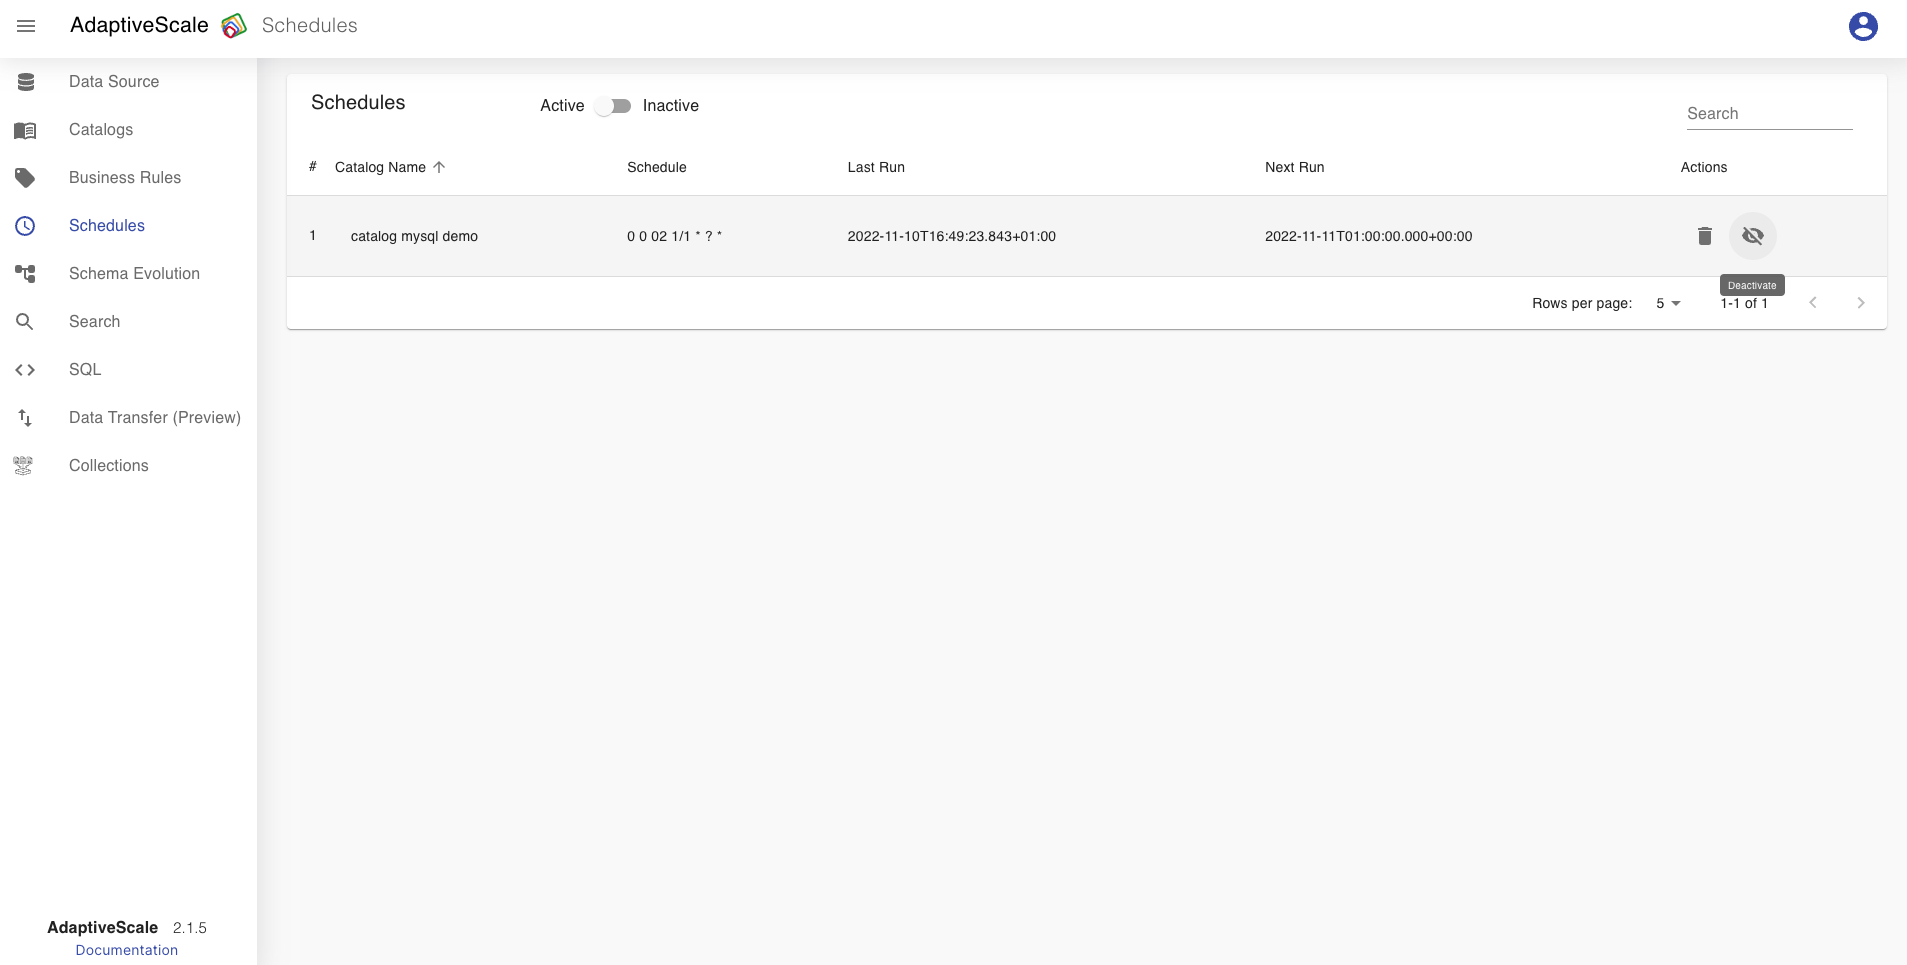
Deactivate schedule
When the user deactivates a catalog schedules run, by clicking on deactivate button, that catalog then will be listed in Inactive scheduled list. This means that the next run of the catalog will not happen on the date schduled in the list until it is activated again.
If the user wants to activate the catalog run it is done by clicking on the eye icon.

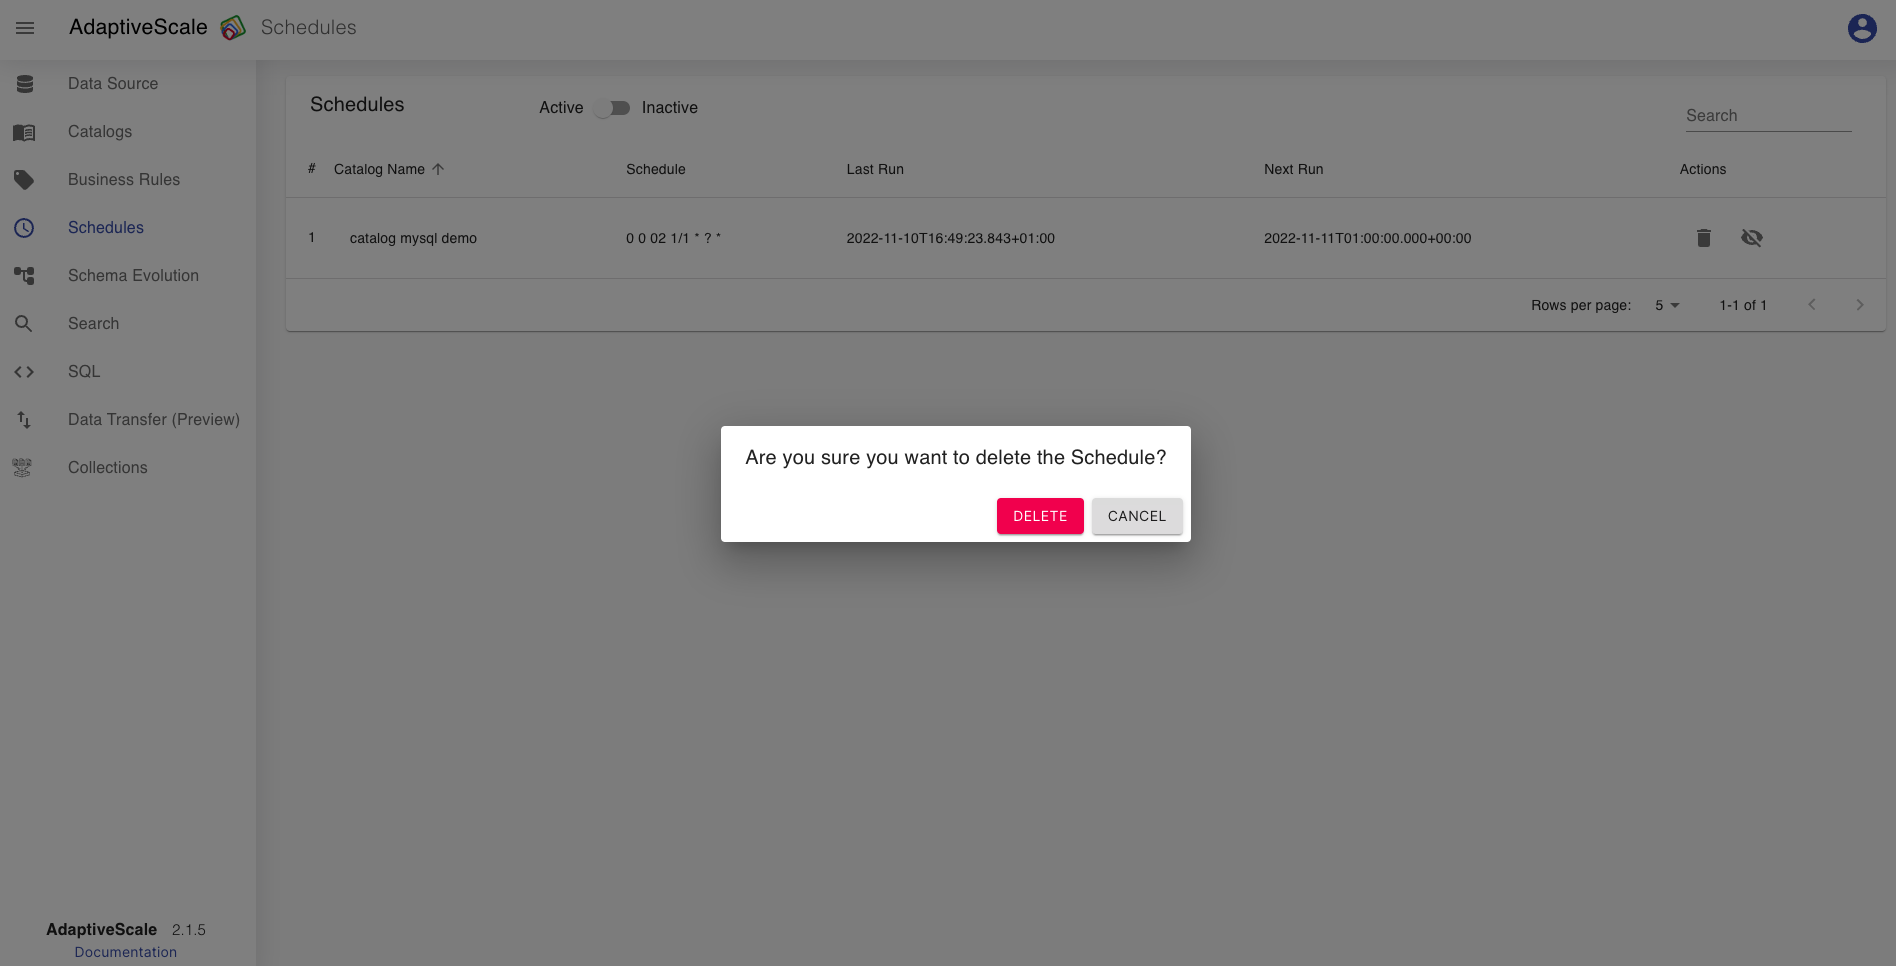
Delete a schedule
The deletion of a scheduled catalog run is done by clicking on the bin icon.
When the icon is clicked, a pop up appears with a question if the user is sure about deleting the schedule, and if yes the user clicks Delete and if not clicks Cancel.