Admin Panel
Admin Panel is a feature that allows users to backup and restore the project settings, and also it is possible to create a git configuration so the changes made can be deployed there. On the right corner at the top there is an icon, when clicked it shows the Admin Panel.
Admin Panel has two tabs, Backup and Git Config.
Example
Create a backup and restore
To backup the project settings, the user must go on Admin Panel and choose Backup tab and click the Backup & Download button.
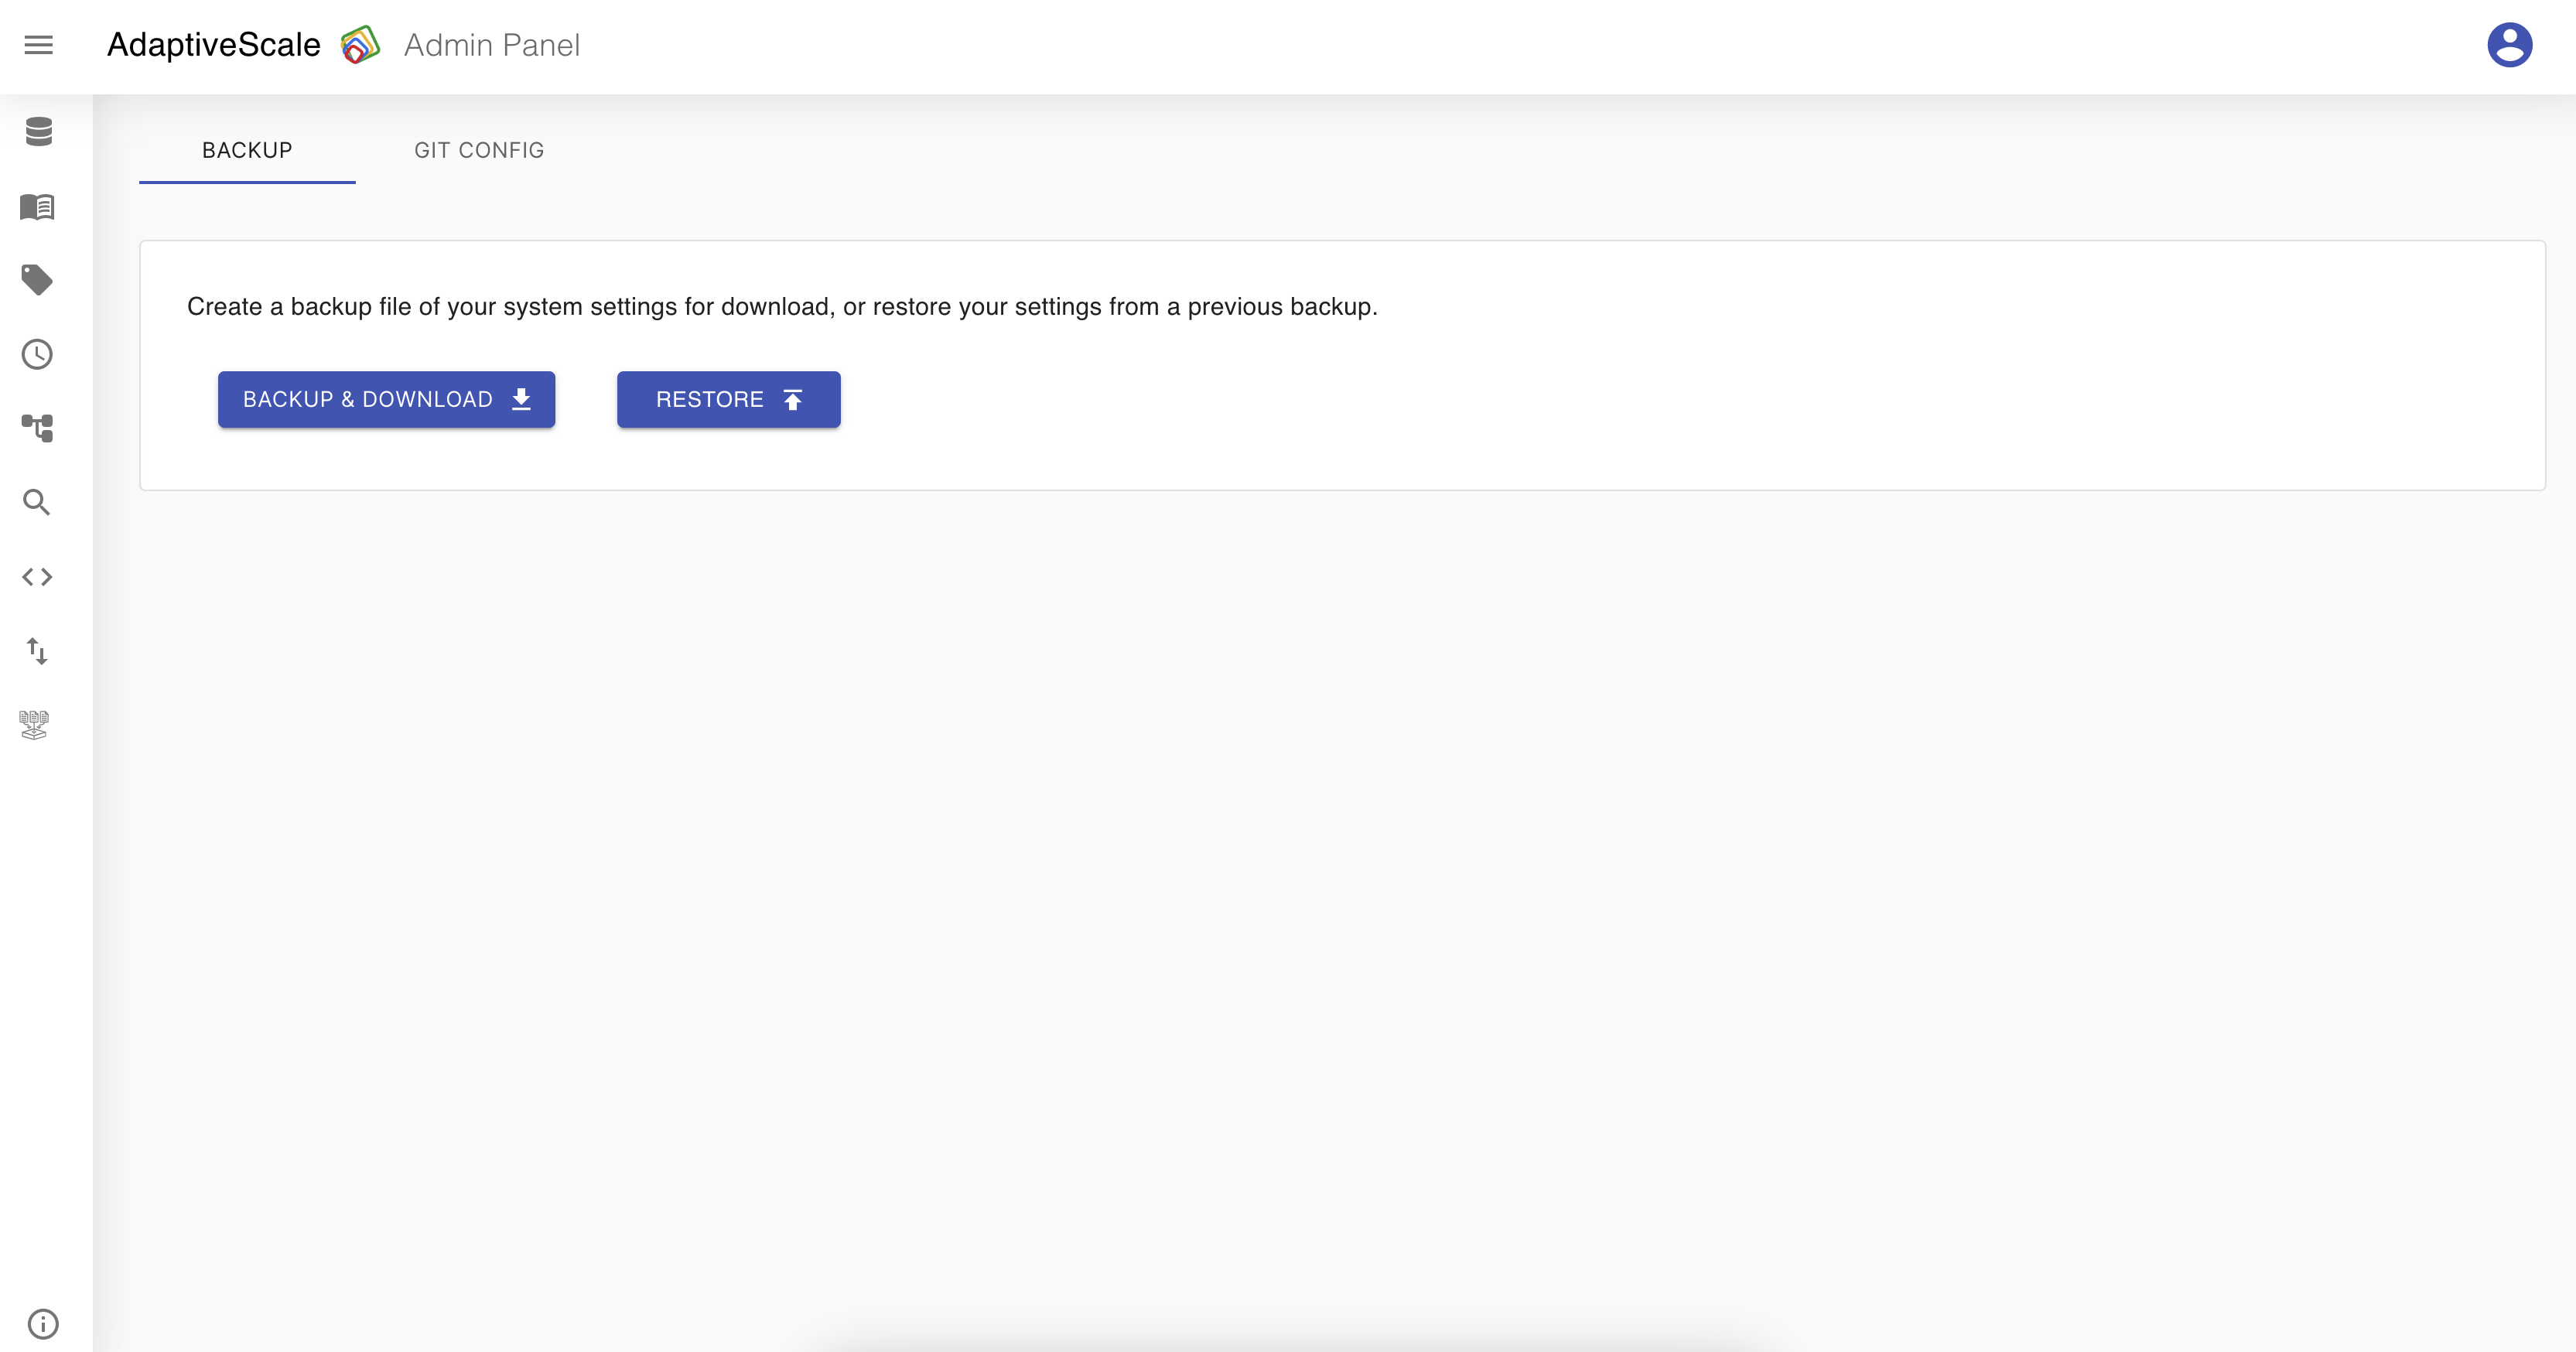
This will create a zip file with all the settings which later on can be restored when needed by clicking on the Restore button and upload the same zip file.
Add a git configuration
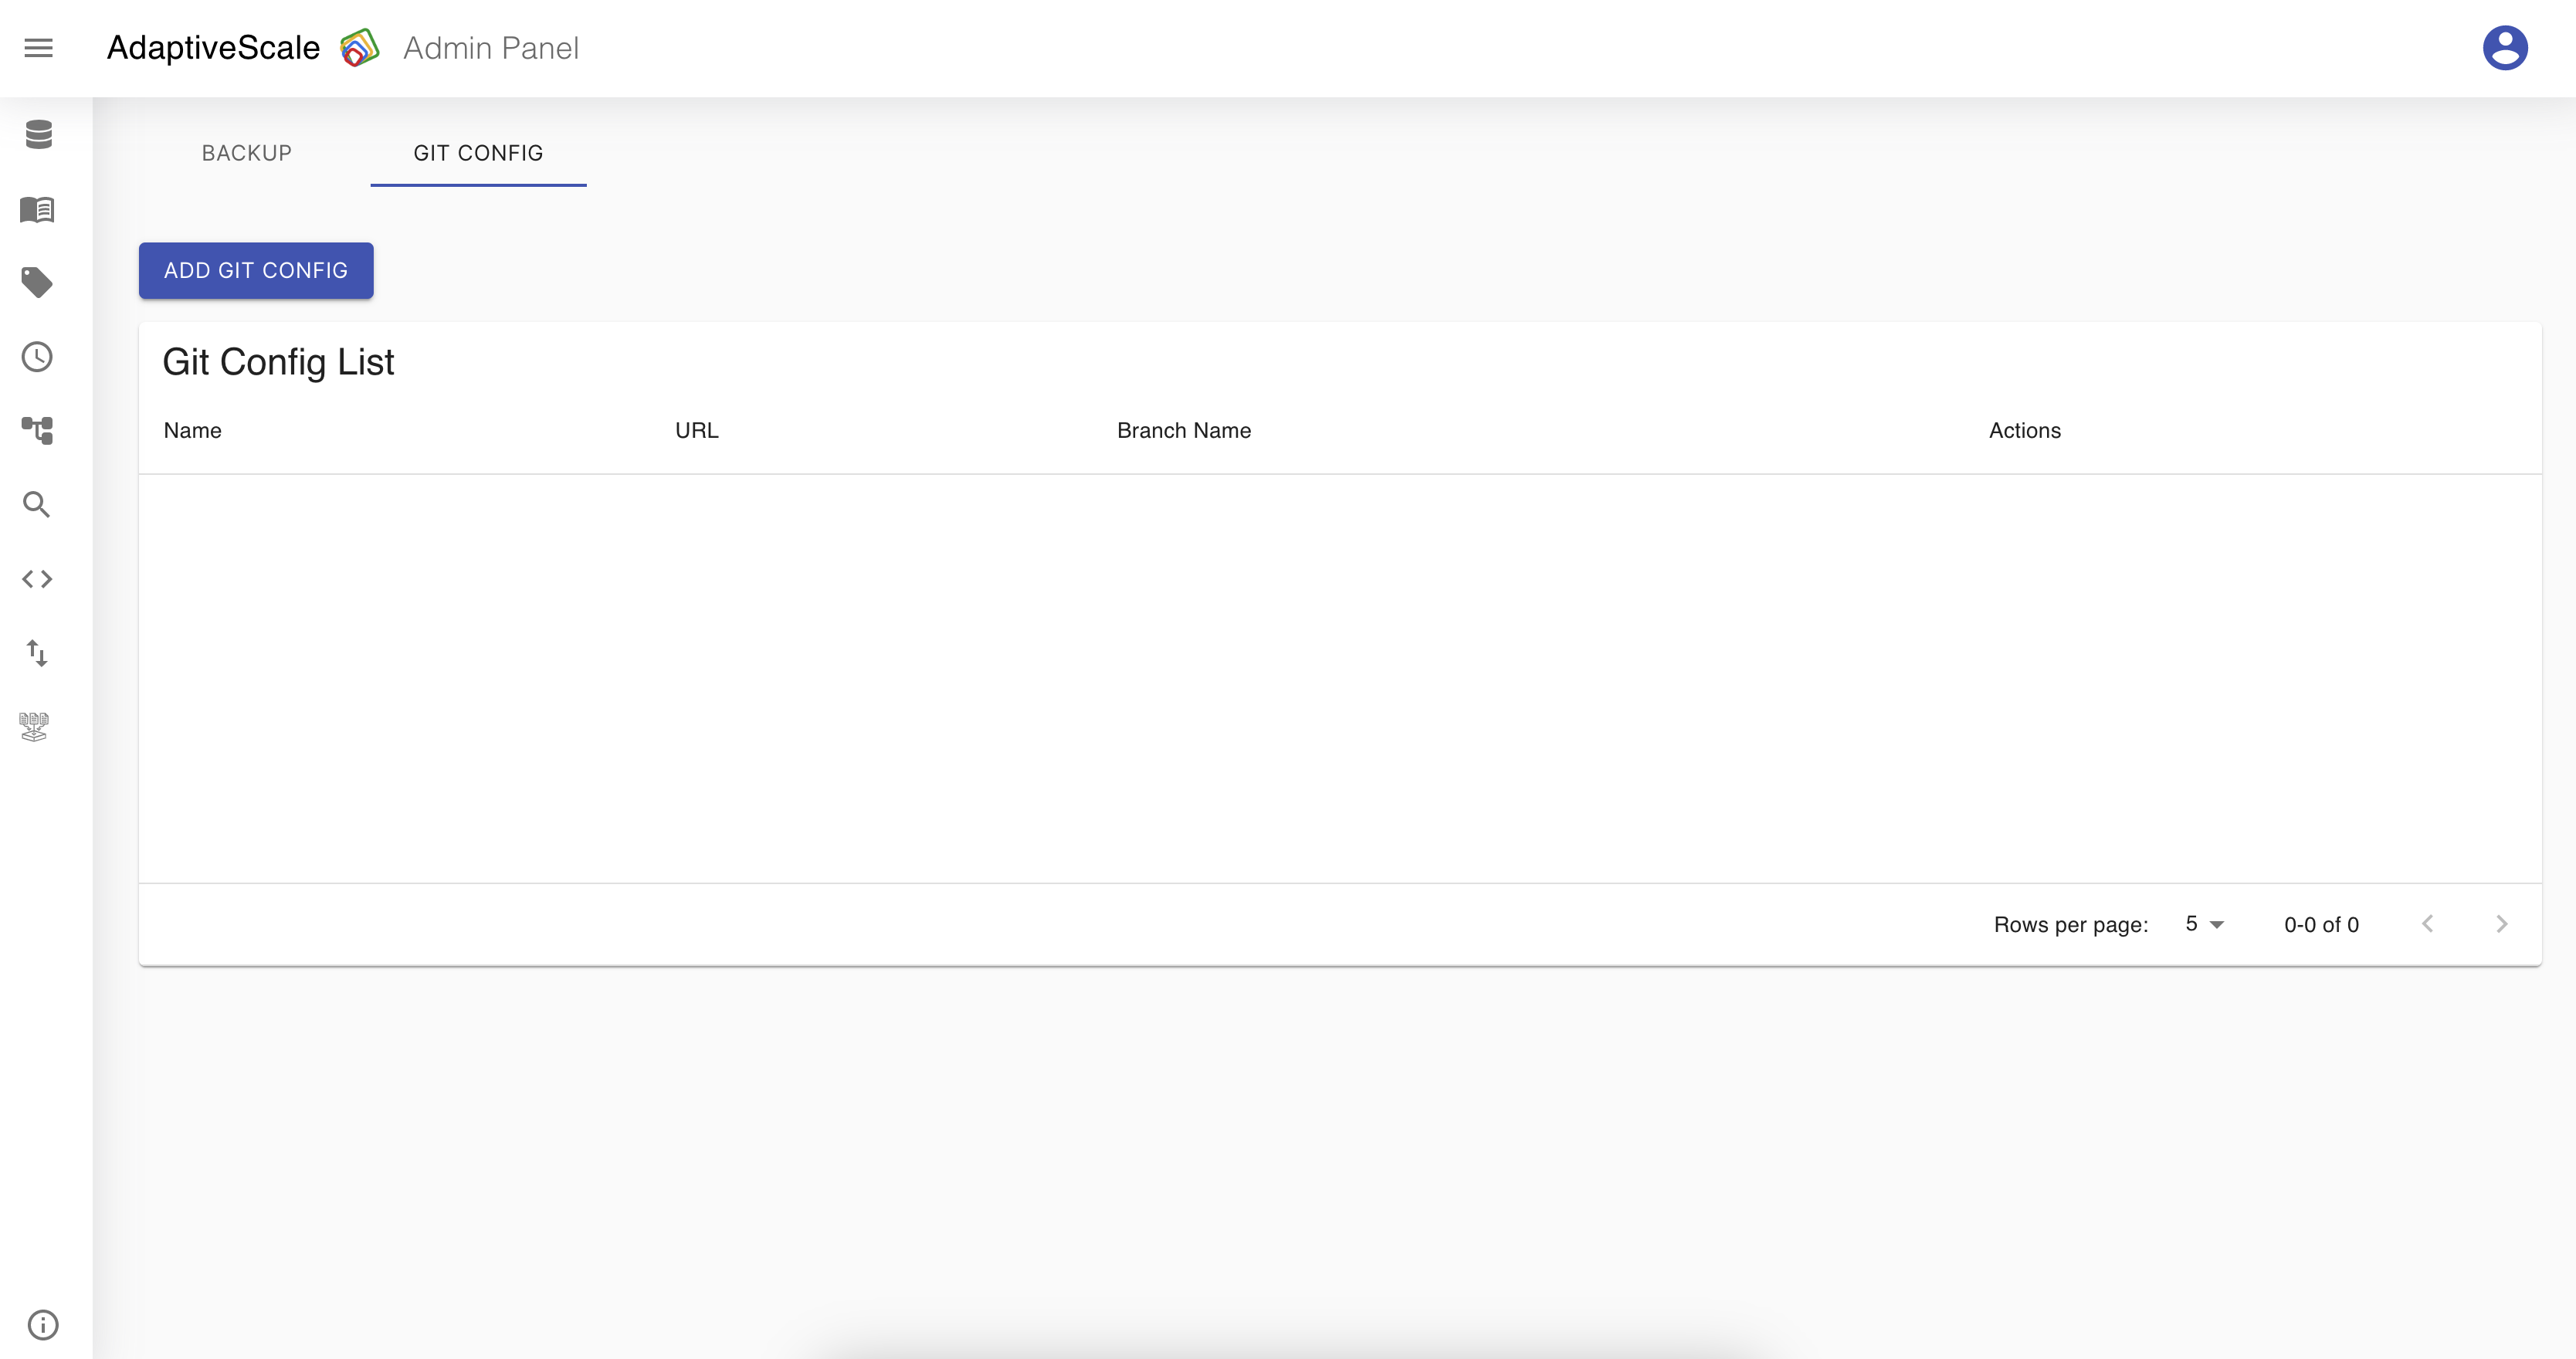
Git configuration is needed if the user wants to deploy the collection changes made in the project. In order to use the git feature the user must create one by choosing on Git Config tab and then click on Add Git Config button.
In Git Configuration the user must choose a type of the git such as Github, Gitlab, or Bitbucket, fill the name that should be unique, add the url, insert the branch name and provide the authentication key.
![]()

Edit a git configuration
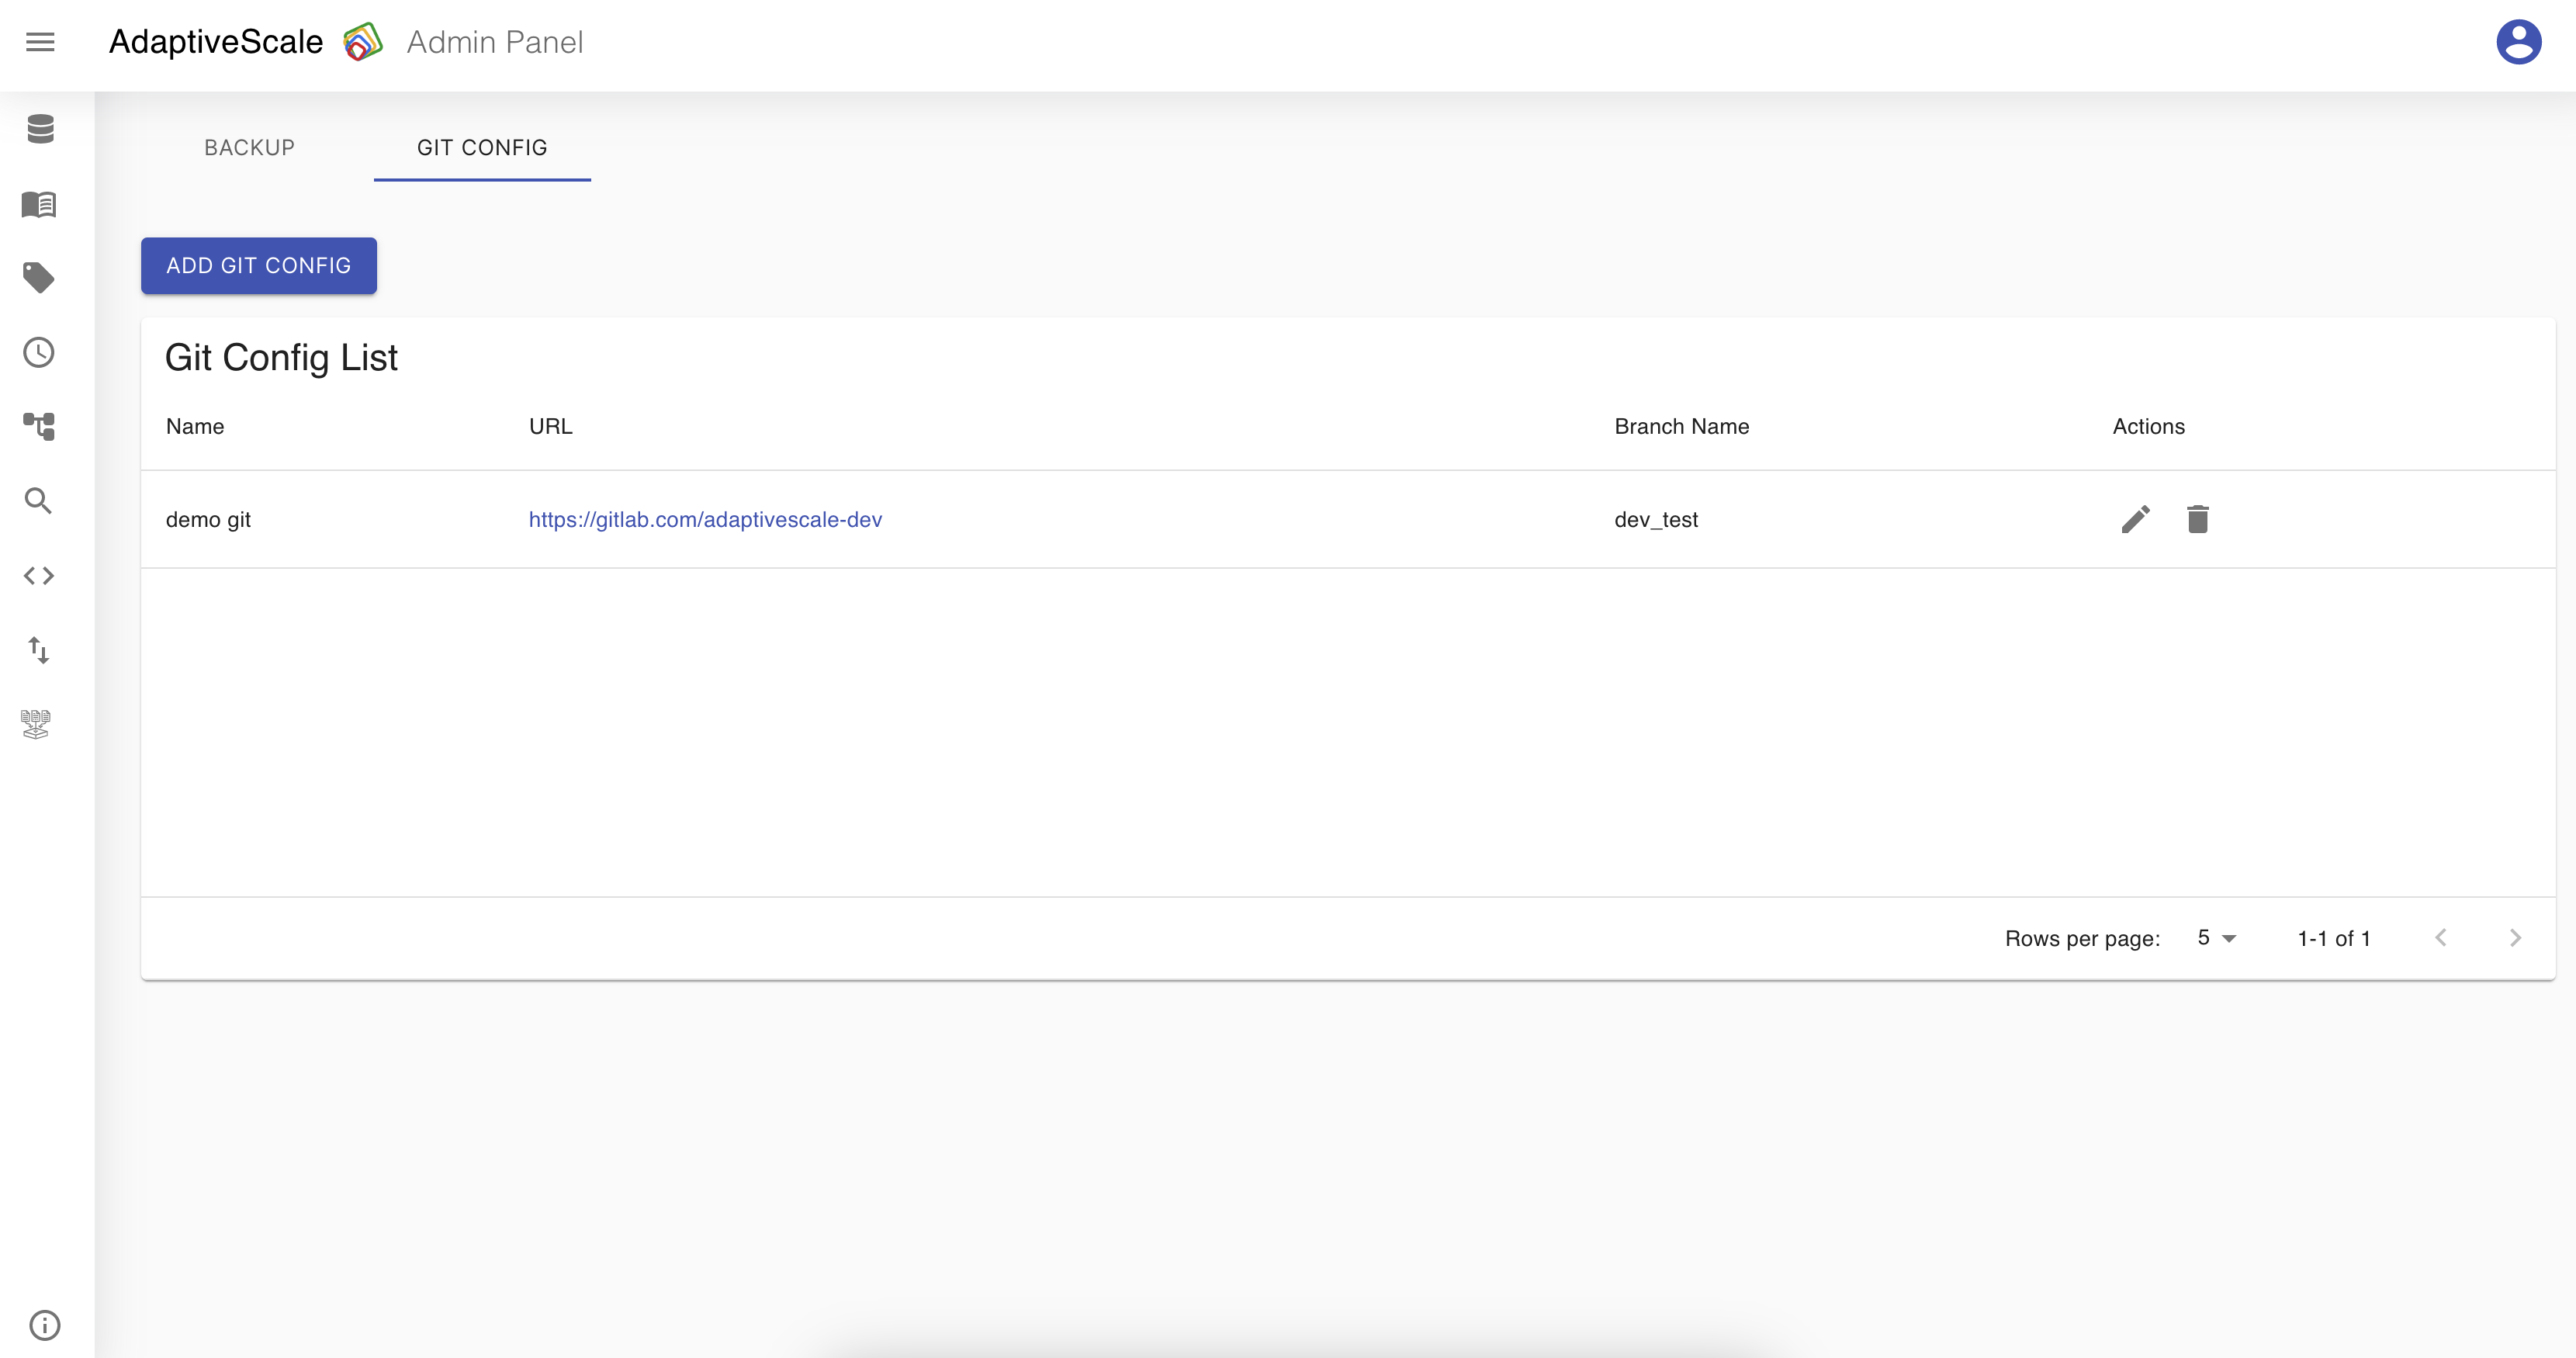
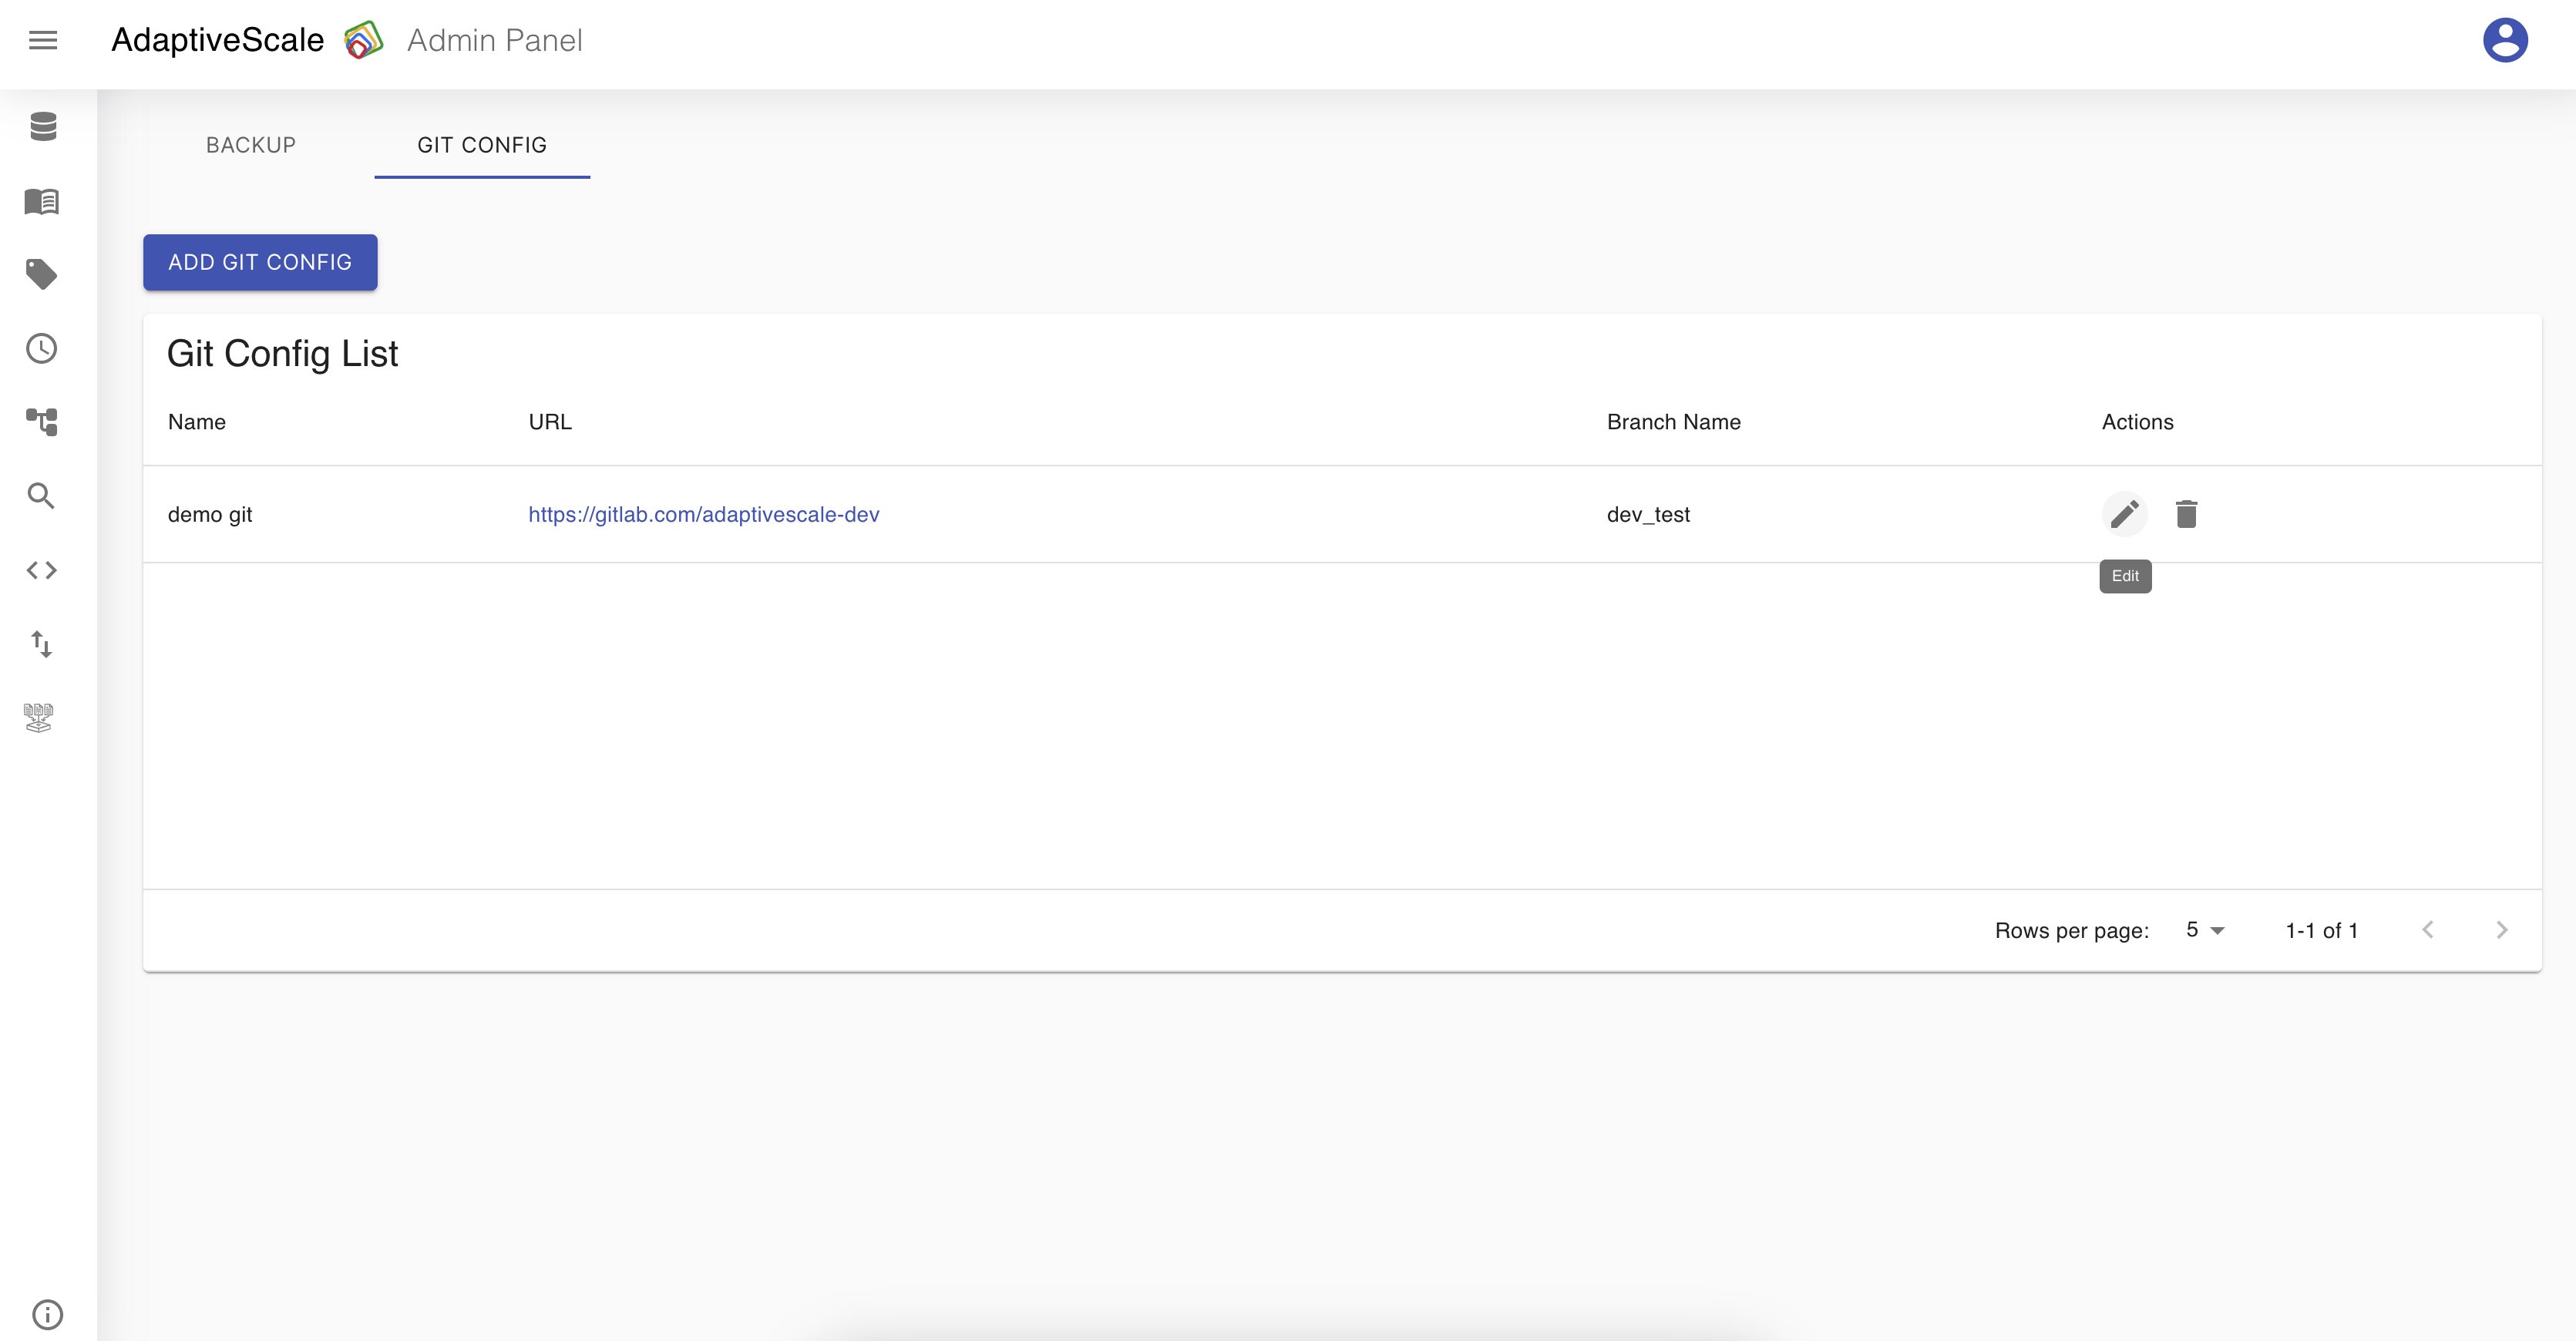
Now that one git is configured, on Git Config tab the user can see a list of the git configurations and a button Add Git Config that redirects to the Git Configuration screen for creating a new configuration. The configuration can be edited and deleted.
When the user clicks on the pen icon next to the configuration from the list they can edit the type, name, url, branch name or token, and save the changes.
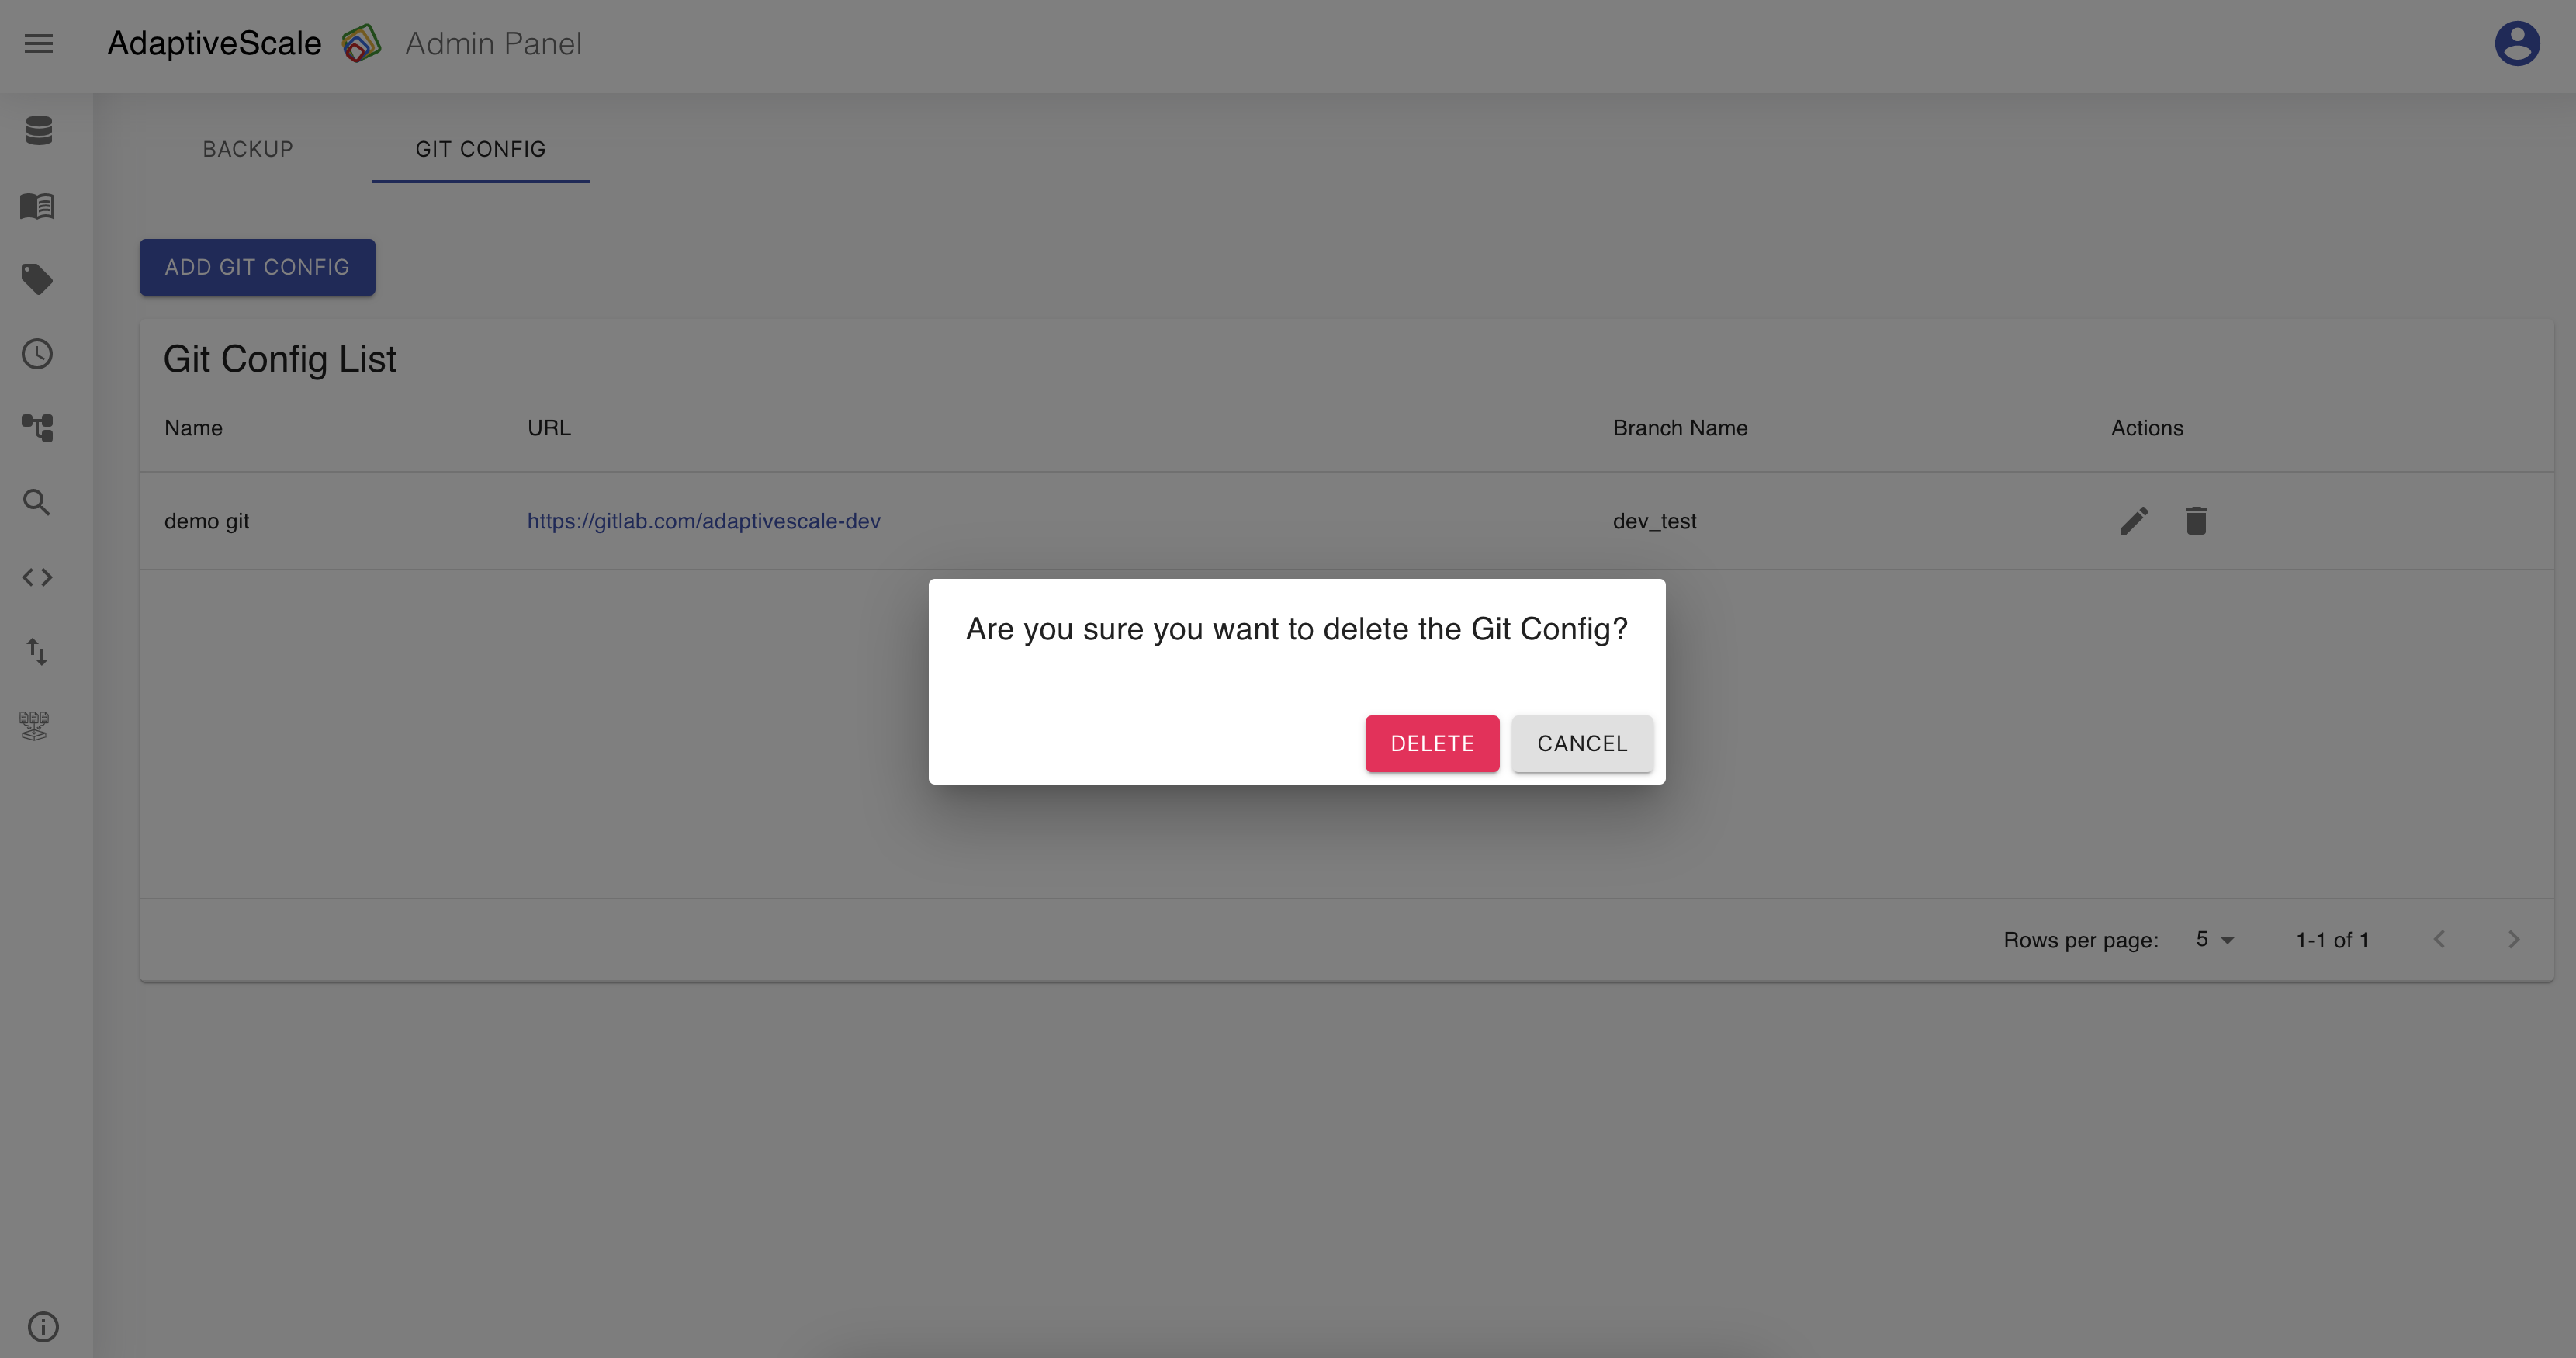
Delete a configuration
The deletion of a configuration is done by clicking on the bin icon.
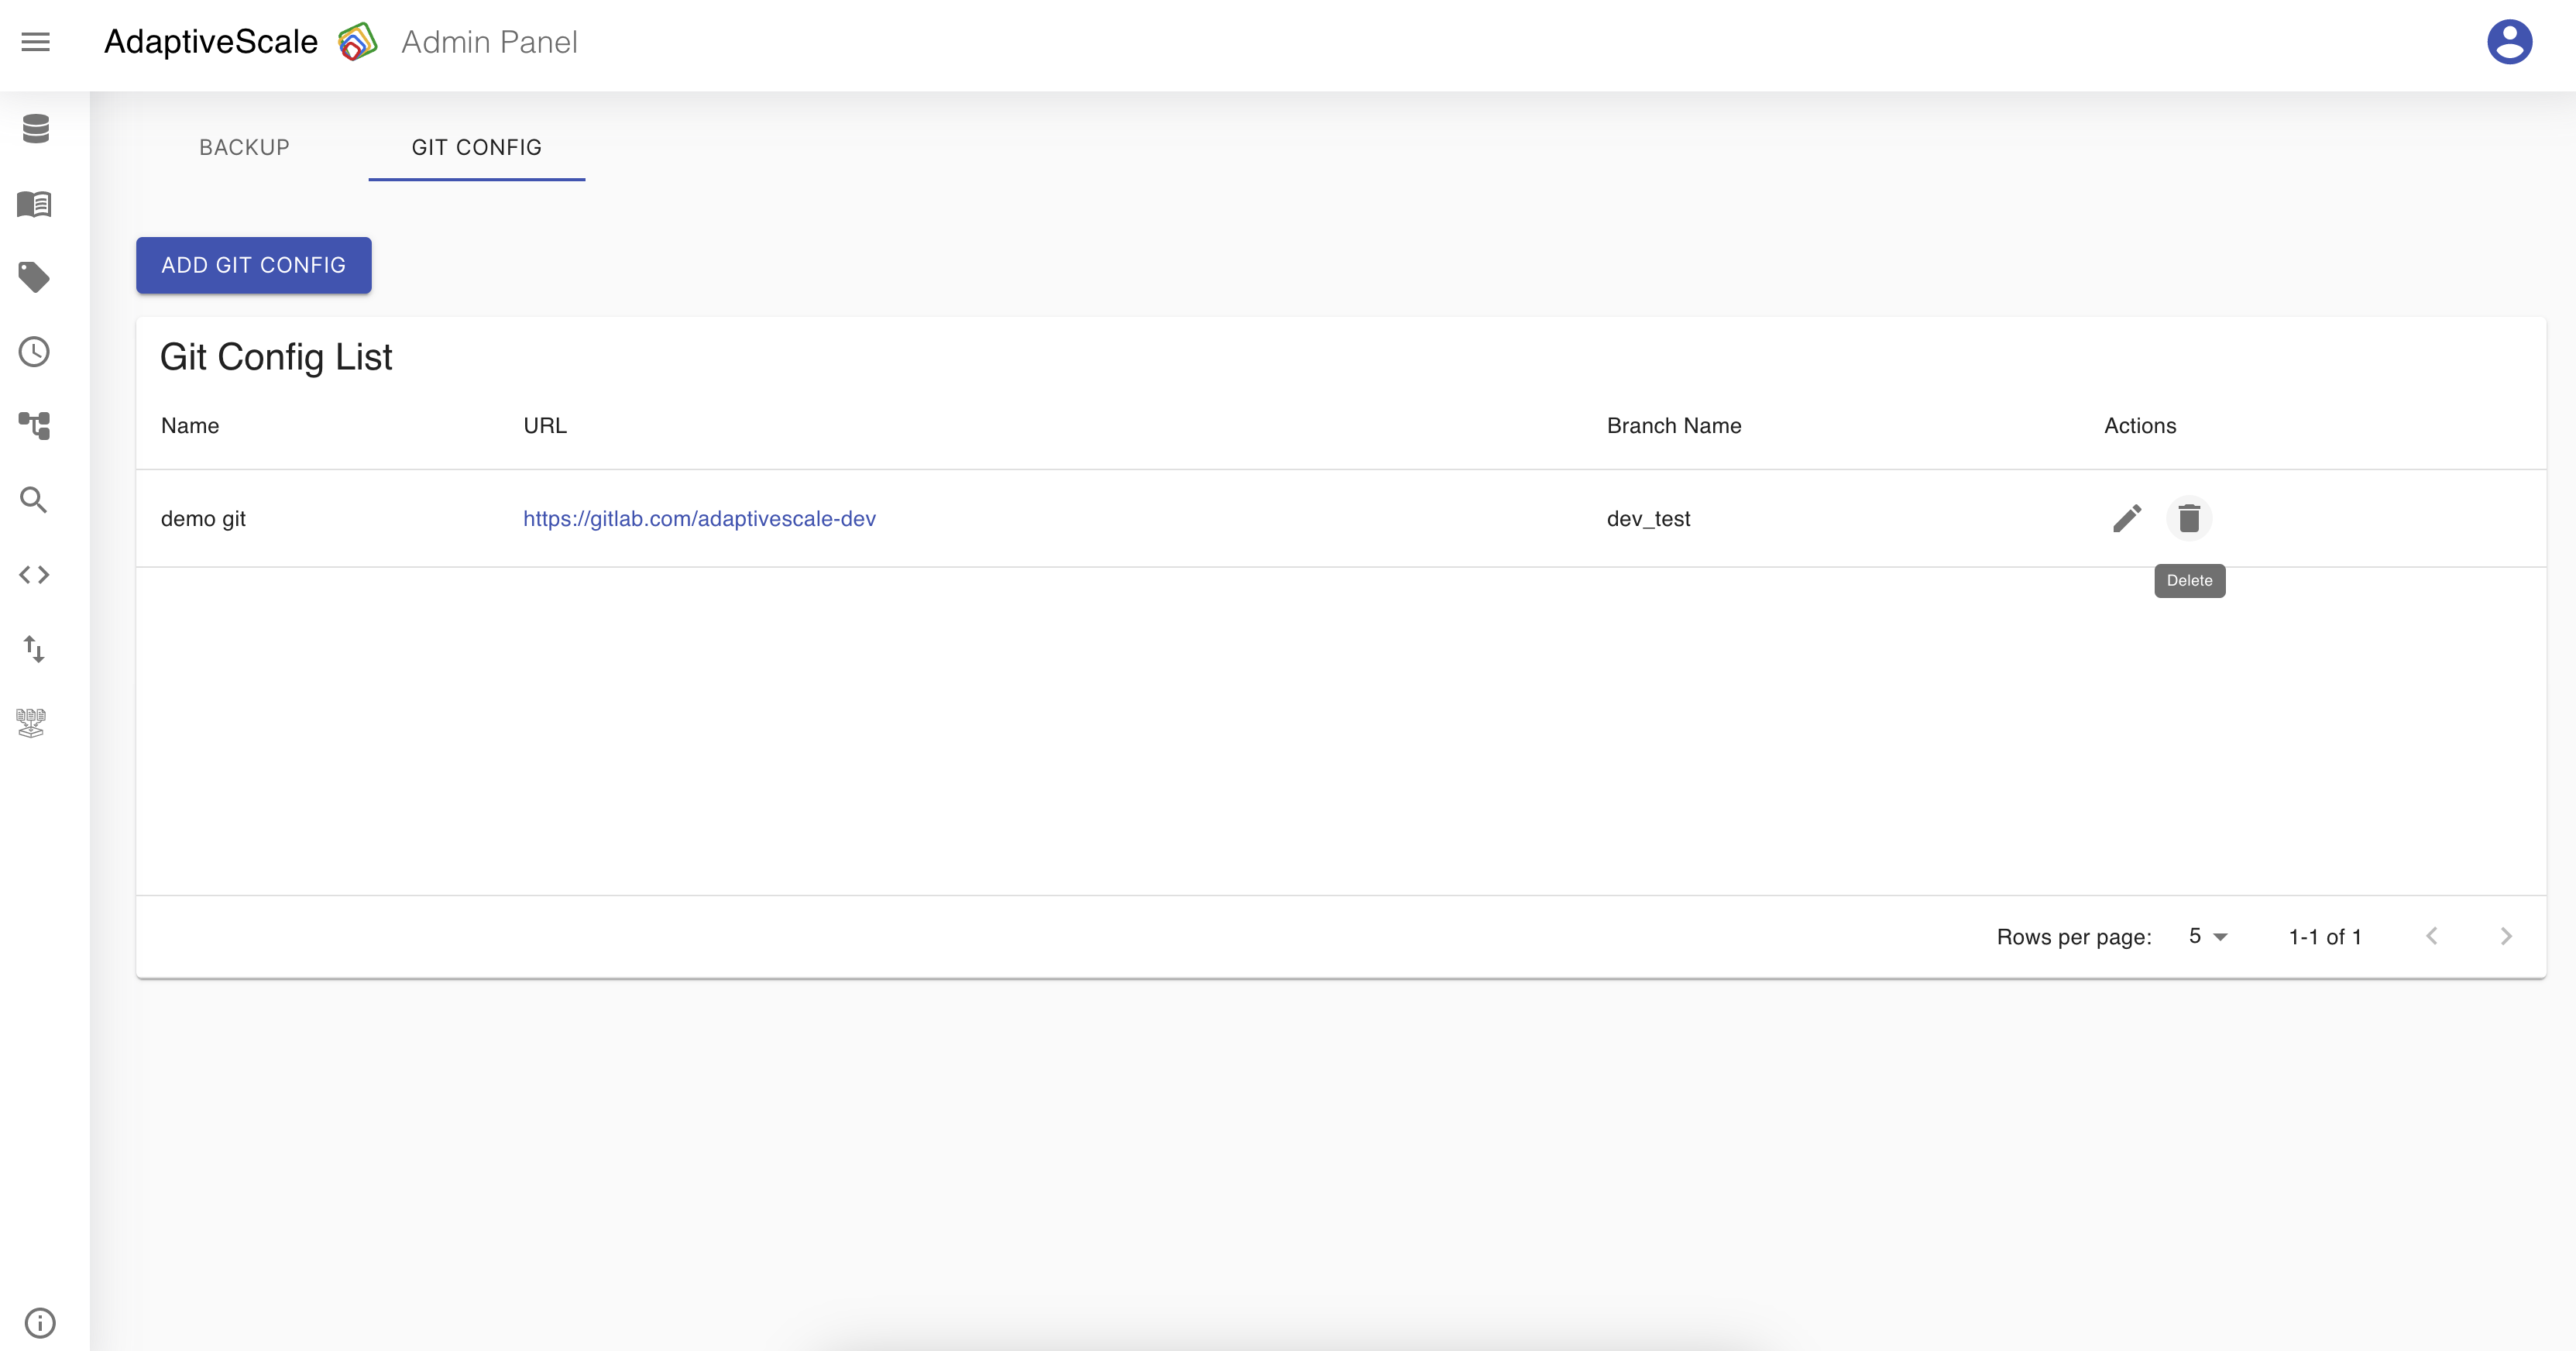
When the icon is clicked, a pop up appears with a question if the user is sure about deleting the configuration, and if yes the user clicks Delete and if not clicks Cancel.